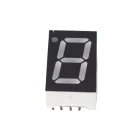
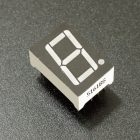
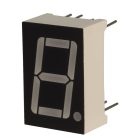
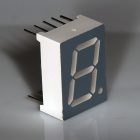
Description
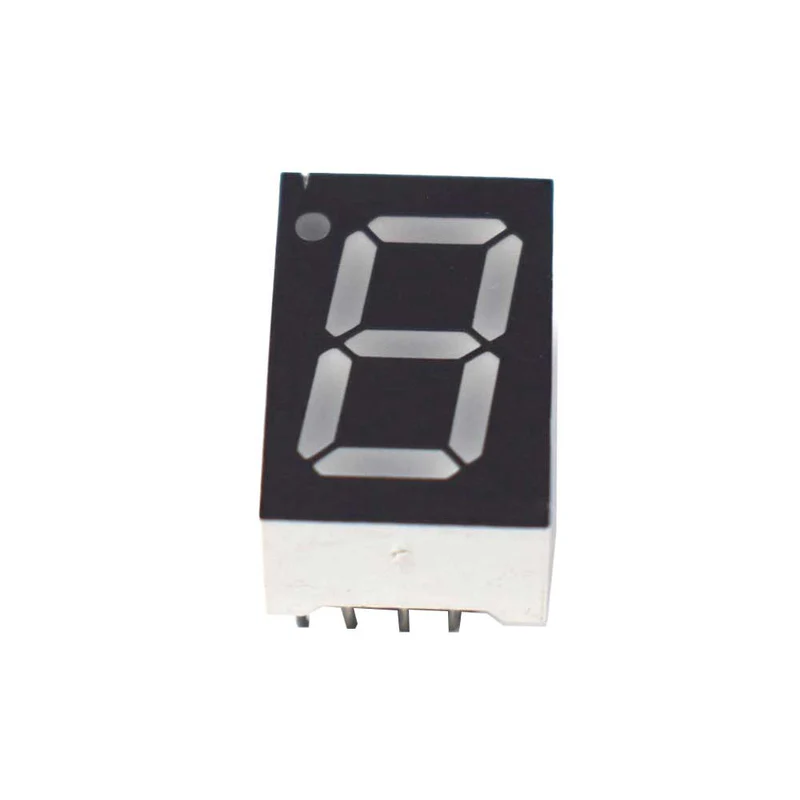
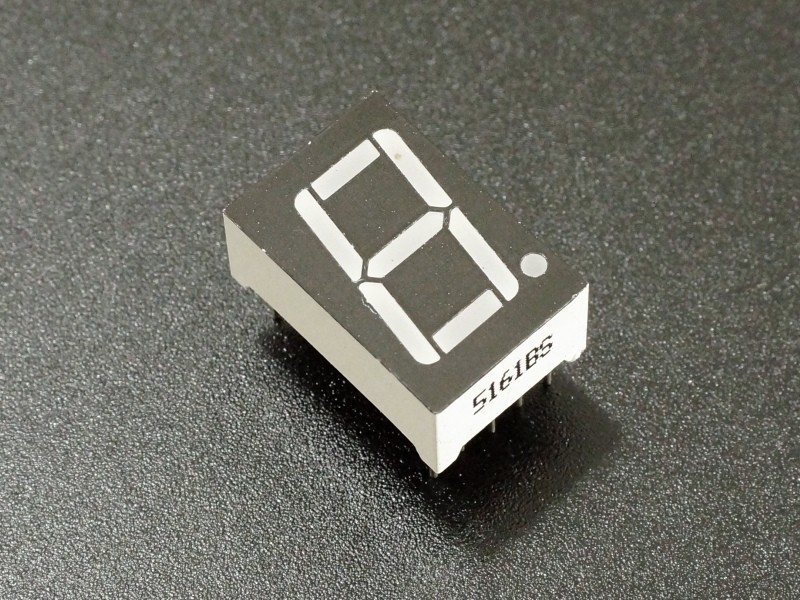
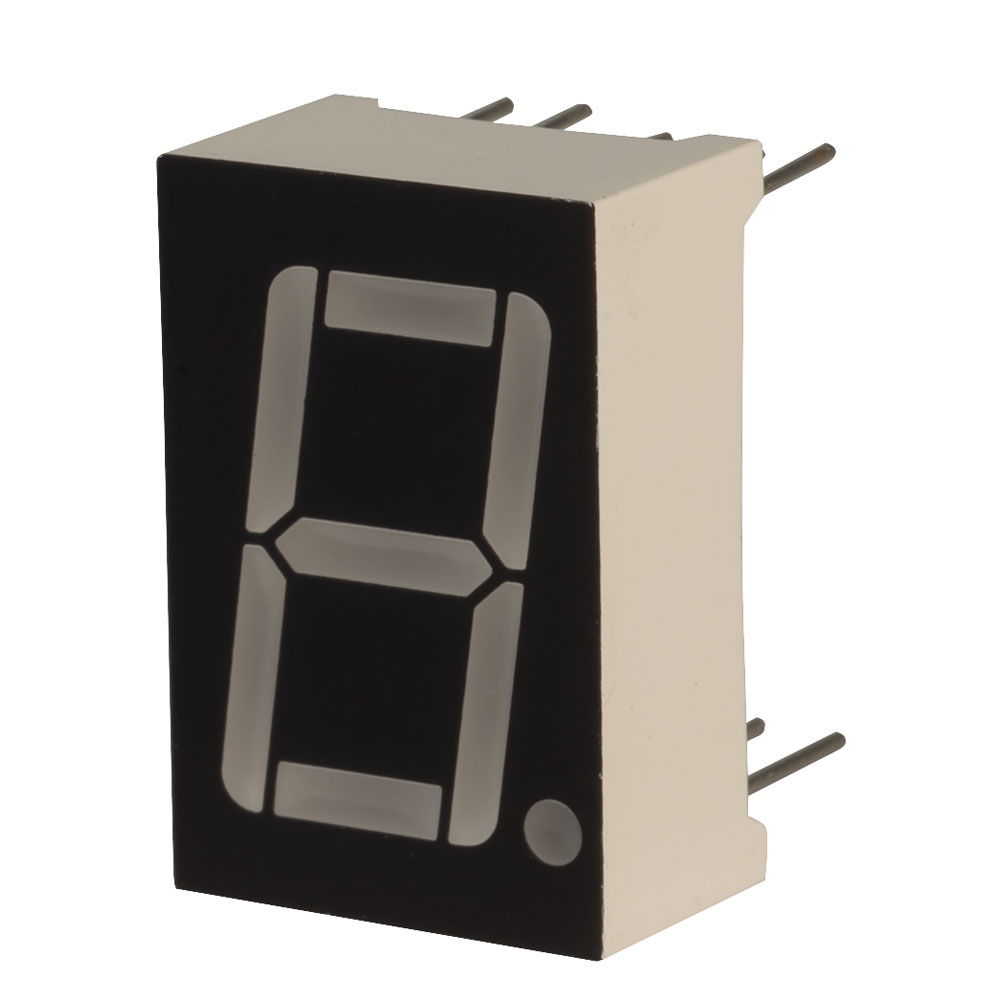
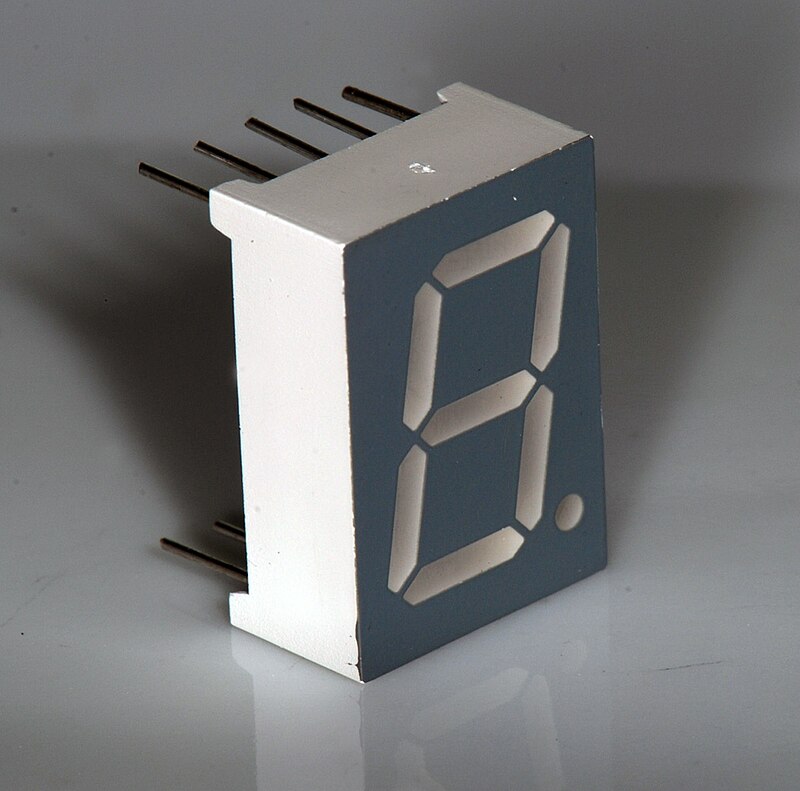
Bring your Arduino projects to life with our 1-Digit 7-Segment Display. This versatile and easy-to-use display is perfect for showcasing numerical data in a clear and concise manner. Whether you’re building a digital clock, a counter, or any project that requires numerical output, this display is your ideal choice.
Key Features:
- Clear Visibility: Bright and crisp LED segments ensure easy readability.
- Compact Design: Fits seamlessly into any project, no matter the size.
- Easy Integration: Simple to connect with your Arduino board, requiring minimal additional components.
- Versatile Applications: Ideal for digital clocks, counters, timers, and more.
- Reliable Performance: Provides consistent and accurate numerical displays.
Specifications:
- Operating Voltage: 3.3V to 5V
- Segment Type: Common Anode or Common Cathode
- Dimensions: Compact and lightweight for easy incorporation into any project
- Connection: Standard pin headers for seamless integration
Why Choose Our 1-Digit 7-Segment Display?
Our 1-Digit 7-Segment Display is not just a component; it’s a key to unlocking the full potential of your Arduino projects. Its bright display and robust design make it perfect for a wide range of applications, ensuring your projects are both functional and visually appealing.
Frequently Asked Questions (FAQ) About 1-Digit 7-Segment Display
- What is a 1-Digit 7-Segment Display? A 1-digit 7-segment display is an electronic display device used to display decimal numerals. It consists of seven LEDs arranged in a rectangular fashion, each representing a segment.
- How does a 1-Digit 7-Segment Display work? Each of the seven LEDs (segments) can be lit in different combinations to represent the numbers 0-9.An additional eighth segment is sometimes used for a decimal point.
- What are the applications of a 1-Digit 7-Segment Display? These displays are commonly used in digital clocks, electronic meters, basic calculators, and other devices that display numerical information.
- How do I connect a 1-Digit 7-Segment Display to an Arduino? Connecting a 1-digit 7-segment display to an Arduino is straightforward. You typically connect each segment to a digital output pin on the Arduino, along with a current-limiting resistor.
- What is the difference between Common Anode and Common Cathode displays? In a Common Anode display, all the anodes of the LEDs are connected together, and you control the segments by grounding the cathodes. In a Common Cathode display, all the cathodes are connected together, and you control the segments by applying voltage to the anodes.
- Can I use the 1-Digit 7-Segment Display in outdoor projects? While the display is durable, it is recommended to use it in a protected environment or within a housing to prevent exposure to extreme weather conditions.


